Maximizing the Value of Vectorworks' 3D Modeling Tools
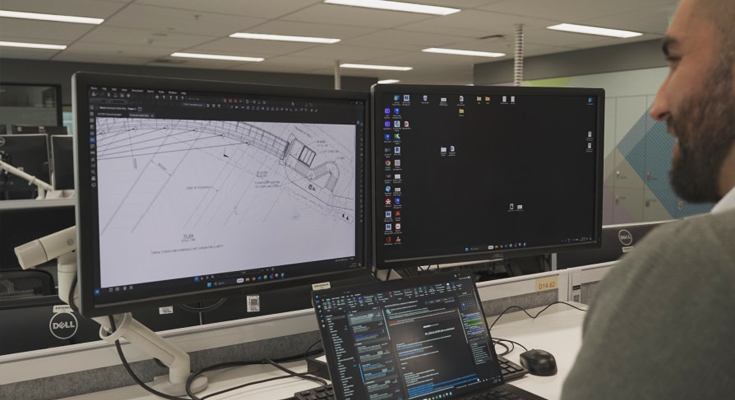
Vectorworks' 3D modeling tools and workflows provide an intuitive yet powerful way to bring your designs to life. Working in 3D offers significant advantages, including better-informed design decisions and improved collaboration.
If you’re looking to strengthen your foundational 3D modeling skills in Vectorworks, this guide is for you. It covers essential modeling features, from basic operations to advanced techniques, along with useful tips to enhance your workflow.
Fundamentals of 3D Modeling in Vectorworks
Mastering the core tools for 3D modeling is crucial for getting started. Below is an overview of the primary operations you’ll frequently use. These tools serve as the building blocks of 3D modeling in Vectorworks—becoming proficient in them will set you on the path to expert-level modeling.
Extrude (Cmd+E, Ctrl+E)
Start by creating a 2D shape using the drafting tools in the Basic toolset, then extrude it by navigating to Model > Extrude. This operation adds height to your shape, transforming it into a 3D object.
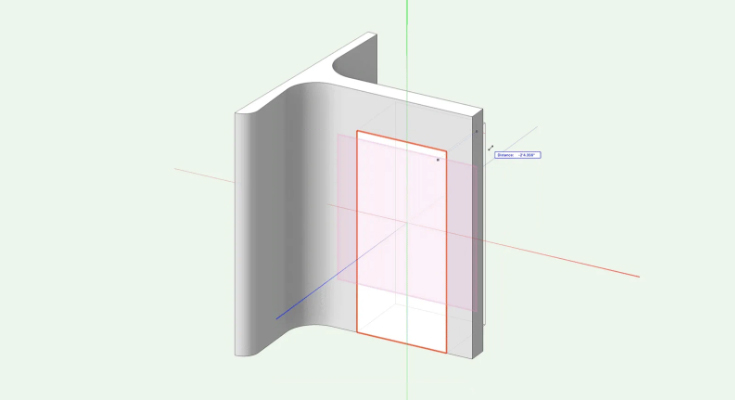
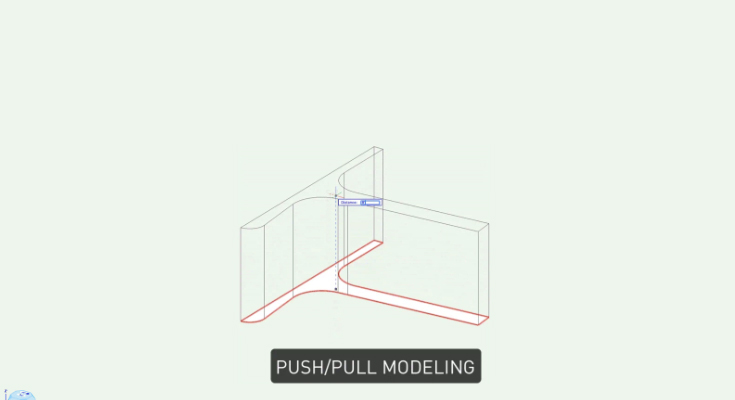
Push/Pull (Shift+R)
After extruding, use the Push/Pull tool to further refine your model by dragging and adjusting surfaces to achieve the desired shape.
Add/Subtract Solids
Modify overlapping objects by either combining them with Add Solids or removing parts using Subtract Solids. These functions, accessible via the contextual (right-click) menu, are particularly useful for refining complex models.
-
Add Solids: Cmd+Option+A, Ctrl+Alt+A
-
Subtract Solids: Cmd+Option+S, Ctrl+Alt+S
Fillet Edge (Shift+F)
To create rounded edges, use the Fillet Edge tool. You can apply a uniform radius across all edges or specify varying radii for custom profiles, helping achieve smooth transitions and enhanced design details.
Advancing Your 3D Modeling Skills
As your designs become more intricate, the following tools will help streamline your workflow and maintain efficiency.
Set Working Plane (Shift+1)
For precision modeling, the Set Working Plane tool allows you to define any surface or position in 3D space as a reference plane. You can set it by selecting a surface or specifying three points in space.
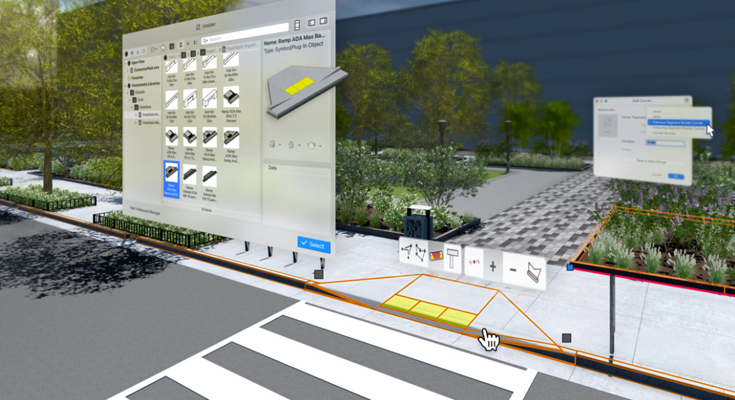
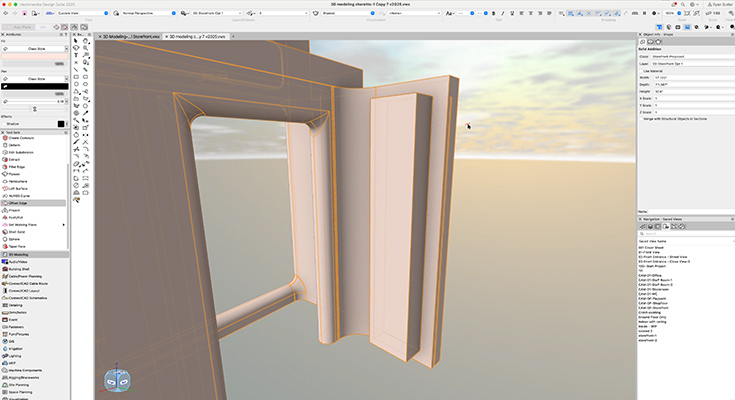
Offset Edge (No Default Shortcut)
The Offset Edge tool creates a NURBS line or curve directly on the face of your model. You can instantly extrude it using Push/Pull, making it ideal for adding geometry to existing surfaces.
Extract Tool (Shift+L)
Use the Extract tool to pull specific surfaces, edges, or curves from your model. This is especially helpful for generating profiles or surfaces that require additional modifications.
Extrude Along Path (Cmd+Option+X, Ctrl+Alt+X)
For complex extrusions, the Extrude Along Path tool enables you to define a path that a 2D profile follows. It offers various scaling options (uniform, non-uniform, exponential) and allows adjustments to both the path and the profile.
Pro Tip: Need 3D text? Convert text objects into 3D models by selecting Text > Convert Text to Polylines, then extrude them for impactful typography in your designs.

Key Tips for Efficient Modeling
-
Editing Solid Modeling History: Double-click a solid object to access its modeling history, allowing you to modify earlier operations, such as additions, subtractions, or even the original 2D shape.
-
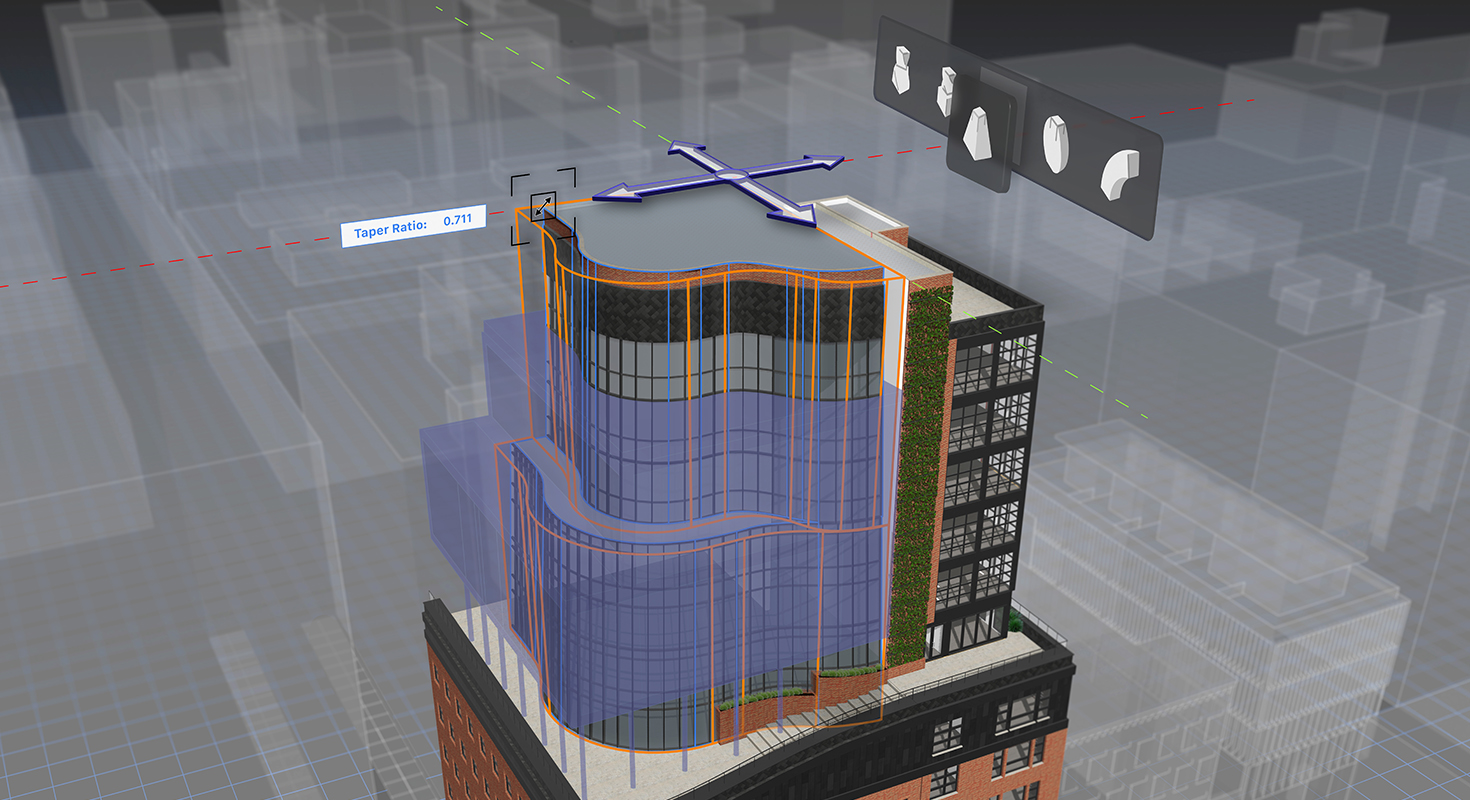
Converting to Generic Solids: Some operations, like Deform and Taper Face, convert objects into generic solids, removing their history. This reduces file size and simplifies the model, but be sure to keep backups for editing flexibility.
-
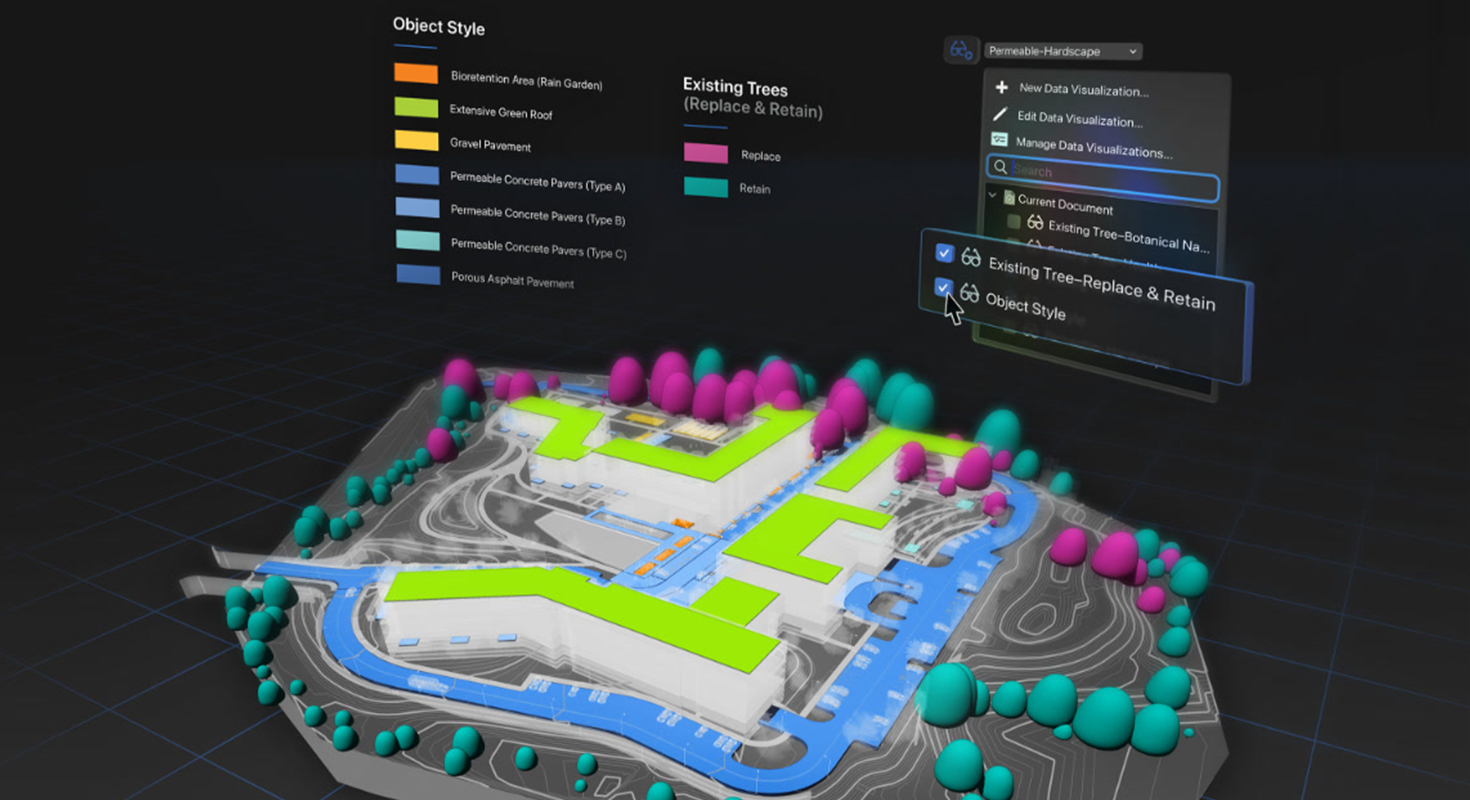
Creating Symbols: Once your model is finalized, create symbols to reuse it throughout your project. You can generate a hybrid symbol by adding linework to its 2D component, ensuring a clear and accurate representation in both 3D and 2D views—particularly useful for plan and elevation drawings.
Learn all about the all new Vectoroworks features, buy Vectorworks or get a free trial
Share this post on:
Related Articles